Setup the Jupyter Notebook environment
Contents
1. Setup the Jupyter Notebook environment#
The materials provided are based on so-called Jupyter notebooks. You have several possibilities to use the notebooks. You need a Jupyter environment that allows you to use the notebooks. The following options are possible:
After the installation, further Python packages must be installed in order to be able to carry out all exercises. The most important packages are:
1.1. Local installation#
Local installation means that each computer is running the software that includes the Jupyter Notebook. Typically, this requires installing a distribution that includes Jupyter and Python.
I recommend to use Anaconda, which is easy to install on Windows, Mac, and Linux. Anaconda is a package manager, an environment manager, a Python distribution, a collection of over 1,500+ open source packages, including Jupyter. It is free to download, open source, and easy to install, on any computer system (Windows, Mac OS X or Linux). It also includes the conda packaging utility to update and install new packages of the Python, and to manage computational environments. On the Anaconda homepage you will find all the information and files you need to install Anaconda. The necessary Python packages can be easily installed via Anaconda.
1.2. Jupyterhub on the CMS Server of the HU Berlin#

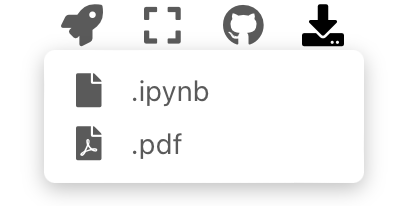
Fig. 1.1 The download button for notebooks#
The CMS of Humboldt-Universität zu Berlin has set up a Jupyter-Hub that can be
accessed via your HU account. The server can be reached
here. To use the notebook, you must
first download the .ipynb file to your computer. To do this, use the download button in the
top menu (see notebook_button). Then you can upload the notebook to the local directory on the
Jupyter Hub server.
1.3. Launch live Jupyter sessions#

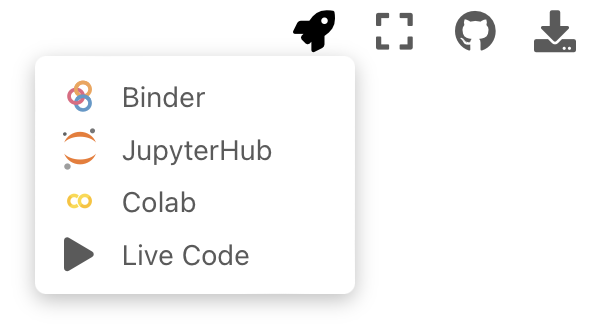
Fig. 1.2 Launch buttons for interactive environments#
You can launch live Jupyter sessions in the cloud directly from the notebook. This
let you quickly interact with the content in a traditional coding interface.
To launch the interactive environment click on the Launch Button at the top bar
(see launch_button).
